
[fusion_builder_container hundred_percent=”no” equal_height_columns=”no” menu_anchor=”” hide_on_mobile=”small-visibility,medium-visibility,large-visibility” class=”” id=”” background_color=”” background_image=”” background_position=”center center” background_repeat=”no-repeat” fade=”no” background_parallax=”none” parallax_speed=”0.3″ video_mp4=”” video_webm=”” video_ogv=”” video_url=”” video_aspect_ratio=”16:9″ video_loop=”yes” video_mute=”yes” overlay_color=”” video_preview_image=”” border_size=”” border_color=”” border_style=”solid” padding_top=”” padding_bottom=”” padding_left=”” padding_right=””][fusion_builder_row][fusion_builder_column type=”1_1″ layout=”1_1″ background_position=”left top” background_color=”” border_size=”” border_color=”” border_style=”solid” border_position=”all” spacing=”yes” background_image=”” background_repeat=”no-repeat” padding_top=”” padding_right=”” padding_bottom=”” padding_left=”” margin_top=”0px” margin_bottom=”0px” class=”” id=”” animation_type=”” animation_speed=”0.3″ animation_direction=”left” hide_on_mobile=”small-visibility,medium-visibility,large-visibility” center_content=”no” last=”no” min_height=”” hover_type=”none” link=””][fusion_text]
The File Uploader helps you upload files to the Infusionsoft Contact File box through your standard Infusionsoft web form in 1 step, rather than the other implementations which require 2 actions from the user.
[/fusion_text][fusion_alert type=”notice” accent_color=”#808080″ background_color=”#ffffff” border_size=”” icon=”” box_shadow=”” hide_on_mobile=”small-visibility,medium-visibility,large-visibility” class=”” id=”” animation_type=”” animation_direction=”left” animation_speed=”0.3″ animation_offset=””]
This tutorial requires the File Uploader Add-On.
[/fusion_alert][fusion_text]
It’s a fairly easy process to setup up! Once you install and activate the File uploads Add-On, all you have to do is add you file uploader to the form of your choice.
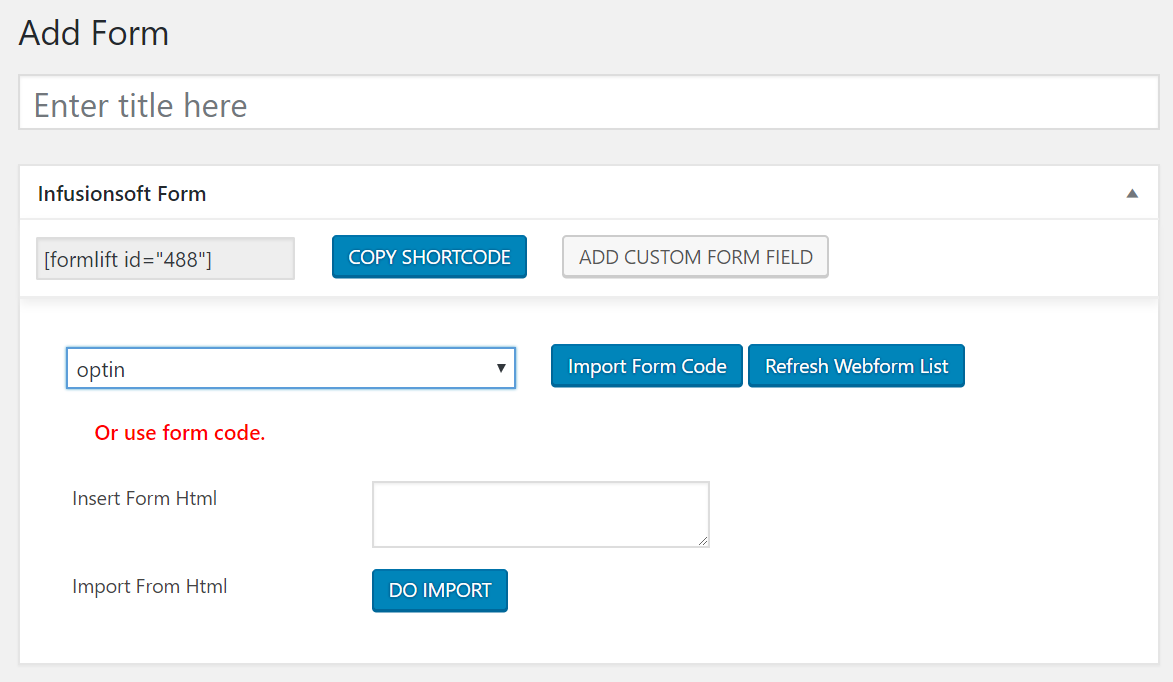
1. Import your form:
Go to Add form, select your form from the drop down, and click Import. Alternatively you may past in form code and import that way.
[/fusion_text][fusion_text]
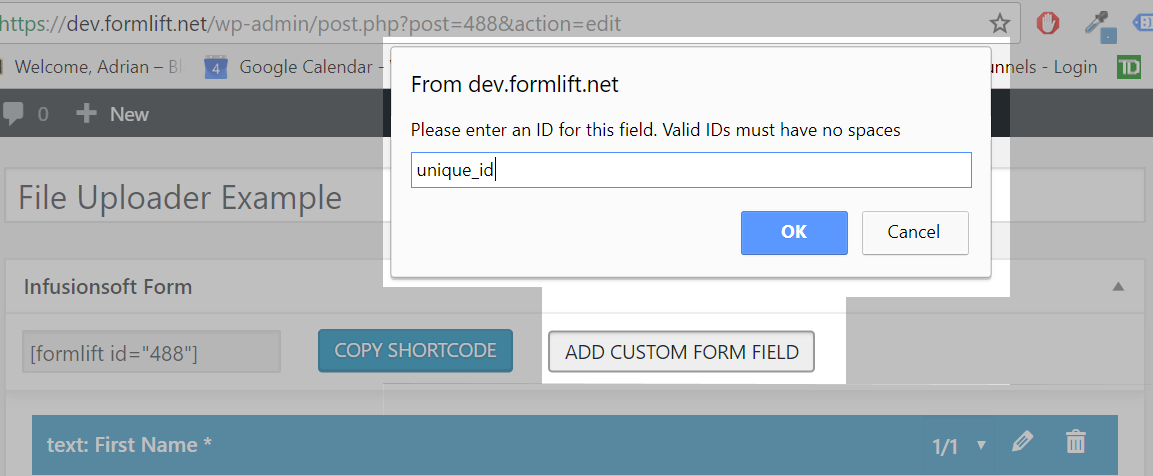
2. Add Custom Field
Click the add custom field button and enter a unique ID for the field.
[/fusion_text][fusion_text]
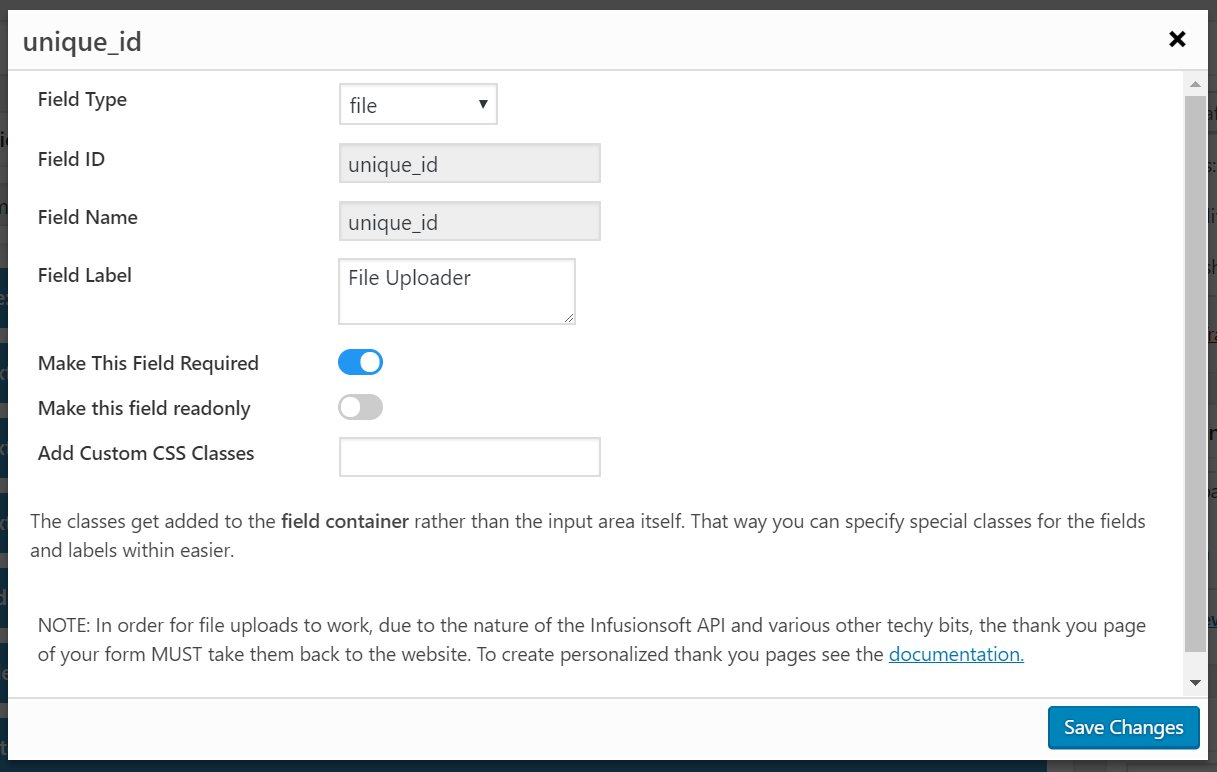
2. Select the “File Uploader”
From the Field Type drop down, select the “file” option under “premium”.
Provide the field with a label, and set is required or not required.
[/fusion_text][fusion_text]
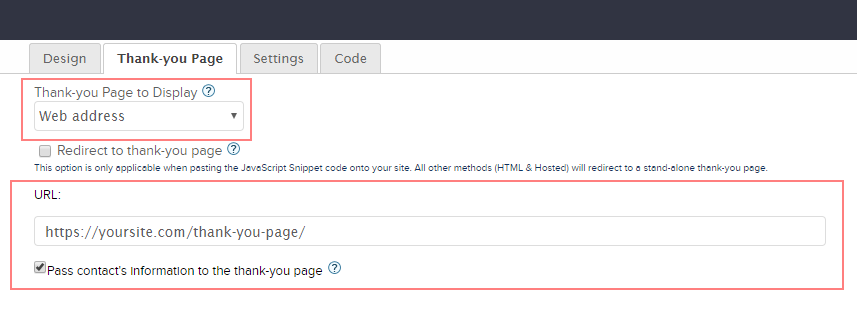
4. Set the thank you page.
For the file uploader to work, you MUST set the thank you page of the form to a page on your site. If you use another site, or the Infusionsoft hosted thank you page, you will be unable to upload any files.
[/fusion_text][fusion_text]
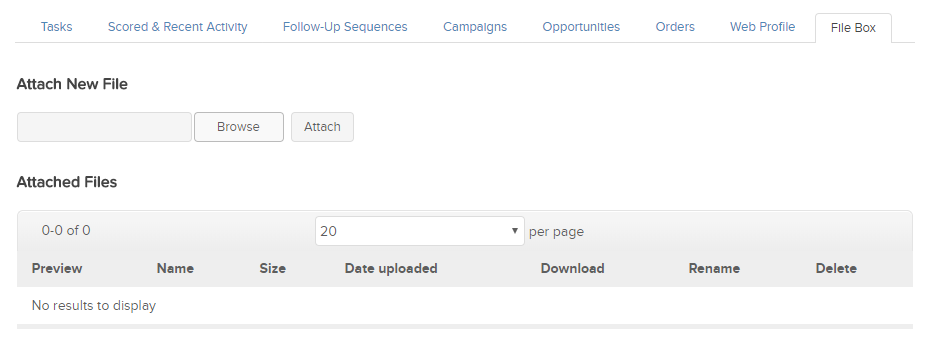
5. See Uploaded Files
Now that your file uploader is properly integrated, go to a contact’s file box to see any uploaded files!
[/fusion_text][/fusion_builder_column][/fusion_builder_row][/fusion_builder_container]